Elevator door controllers are crucial to ensuring smooth, safe, and efficient operation. But many installers and maintenance professionals unknowingly fall into common traps—misunderstanding installation procedures, misconfiguring settings, or neglecting safety measures. These mistakes can lead to safety hazards, frequent breakdowns, and costly repairs.
Ever thought installing a door controller is as simple as plugging it in and walking away? If so, you’re not alone. Many believe these systems are “set and forget,” but the truth is, improper installation and operation can compromise an elevator’s performance. In this guide, we’ll bust the biggest myths and show you the right way to handle elevator door controllers like a pro.
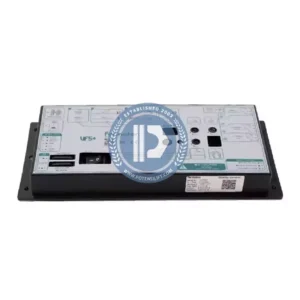
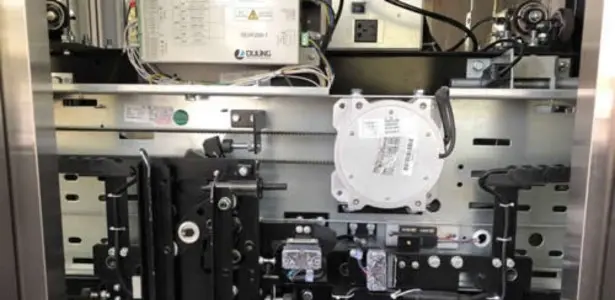
No, and assuming so can lead to major problems. One of the biggest misconceptions is thinking that all controllers are the same and can be wired up without following detailed instructions. The reality is:
To avoid mistakes, always refer to the manufacturer’s installation manual. Double-check connections, especially for signal wires and power inputs, to prevent short circuits or miscommunication with the elevator system.
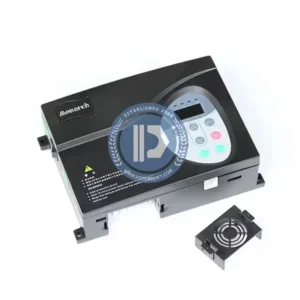
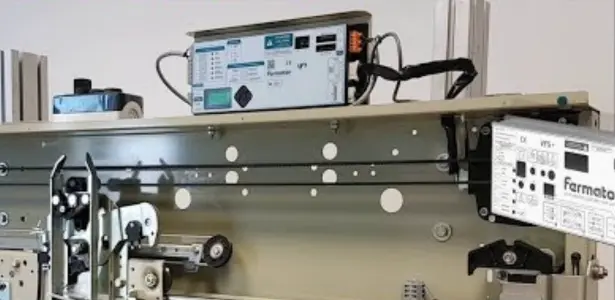
Not exactly. Many assume that a brand-new controller comes ready to go with optimal settings for their elevator system. While some models do have default configurations, they are rarely ideal for every setup.
Each installation requires custom calibration, including:
Failing to configure these properly can lead to doors slamming shut too forcefully, staying open too long, or failing to close completely—causing unnecessary delays and potential safety hazards.
Absolutely not! Some installers believe modern controllers eliminate the need for a safety edge system. But this component is a critical safety feature that prevents elevator doors from closing on people or objects.
If the safety edge isn’t properly installed or calibrated, you risk:
Always ensure that the safety edge is installed and tested before putting the elevator into operation.
This is a dangerous myth. Some technicians increase the door-closing force, believing it will speed up the elevator cycle. But instead of efficiency, this often leads to:
The right way to adjust speed is by configuring the controller’s motor control settings, keeping force levels within safety limits.
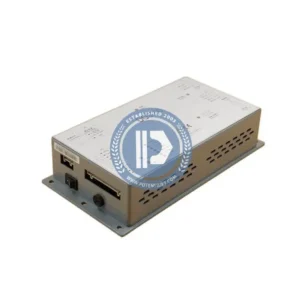
Not quite. Elevator door controllers vary depending on whether they’re designed for:
Using an incompatible controller can lead to:
Always match the controller type with the specific door mechanism it’s designed for.
Not necessarily. While restarting the controller can sometimes resolve minor glitches, deeper issues—like sensor failures or software errors—require a more thorough approach.
Instead of relying on trial and error, always:
A power cycle is a temporary fix, not a long-term solution.
Now that we’ve debunked the most common misconceptions, let’s walk through the best practices for proper installation and operation.
Skipping installation steps or assuming “it’s the same as last time” can lead to costly mistakes. Each controller model has specific:
Read the manual thoroughly and follow the recommended steps.
After installation, fine-tune the door operation by adjusting:
Skipping calibration can result in rough door movements or safety malfunctions.
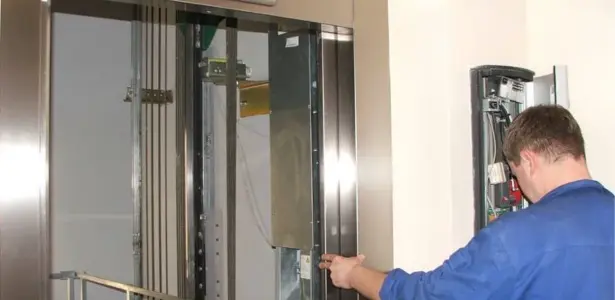
Before putting the elevator into service, test all safety features, including:
A controller may be installed correctly, but if safety components aren’t working, the elevator is still unsafe.
Door controllers require routine check-ups to maintain optimal performance. Schedule regular:
Preventative maintenance helps avoid unexpected failures and costly downtime.
When a controller malfunctions, avoid guesswork. Instead:
A systematic approach saves time and prevents unnecessary part replacements.
To ensure your elevator door controllers are installed and operated correctly, always:
Elevator door controllers may seem simple, but misconceptions about their installation and operation can lead to serious safety hazards and costly repairs. By following best practices—reading manuals, calibrating settings, testing safety features, and maintaining the system regularly—you can ensure elevators function smoothly and safely.
Want expert guidance? Contact us today for professional support and high-quality elevator parts!
① Get 10% off on your first order.
② Get latest news about our promotion products.
③ Get our sales specialist VIP service 24/7.
④ Get access to our credit payment time.
WhatsApp us